The Bookings view displays all of your bookings in a table format. Each booking entry includes:
-
Date, time, and frequency.
-
Client information: name, email and address.
-
Service provider status: assign or invite providers, and see if one is already assigned.
-
Payment status: may appear as upcoming hold, hold CC, failed hold, charge, charged, unpaid or paid.
For more info, you can check our Article about Payment Status.
-
Booking amount.
-
Edit icon (pencil ✏️): view or update booking details.
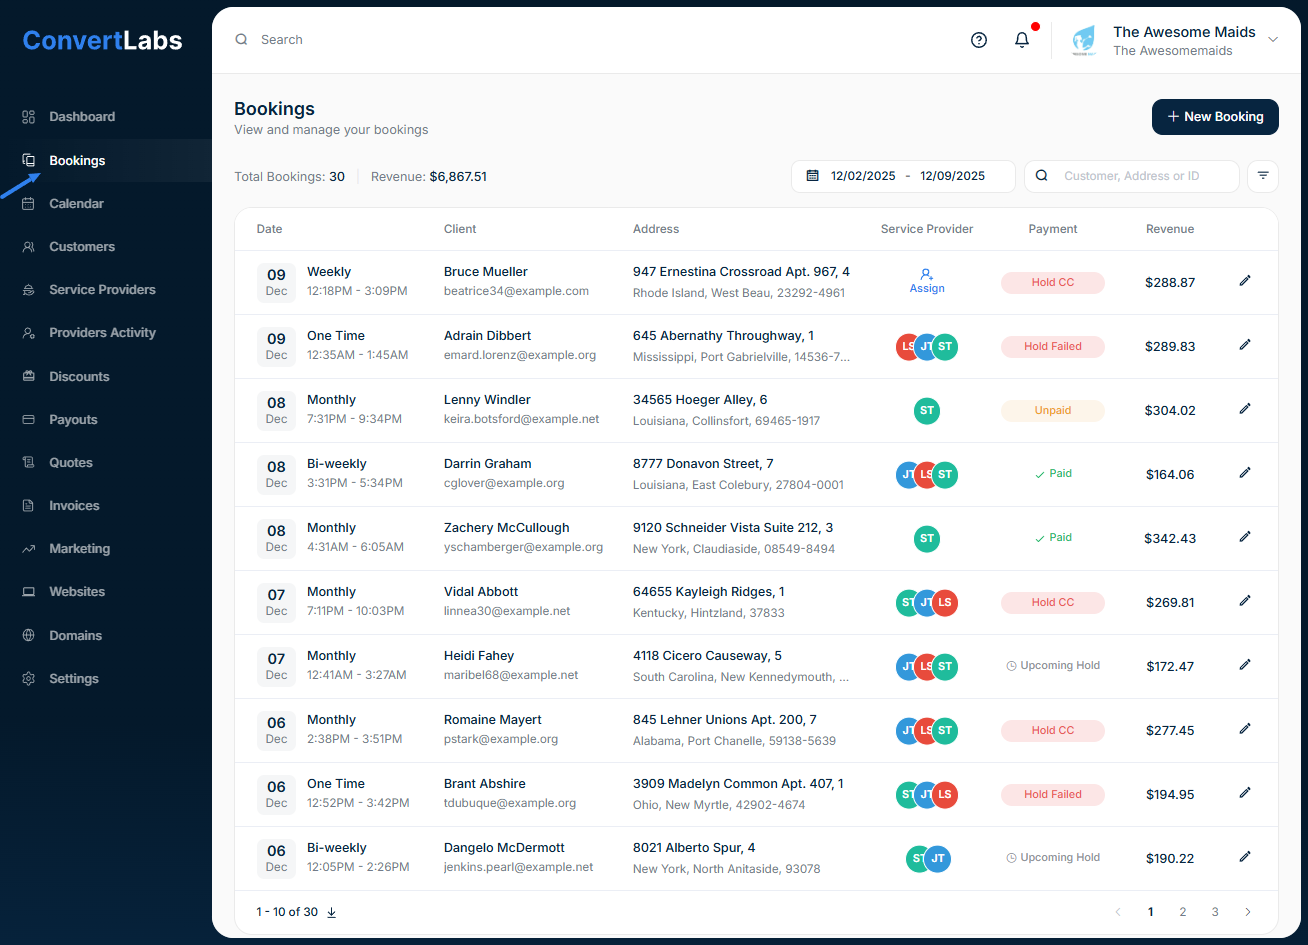
At the top of the table, you’ll also find:
-
Total bookings.
-
Total revenue for the selected date.
-
Download button.
-
Filters and search tools.
How to Filter Bookings
1. Filter by Date
-
Open the date filter.
-
Choose a date range, or clear the filter to view all-time bookings.
2. Apply Additional Filters
-
Price range.
-
Service providers.
-
Booking status: Active or cancel.
-
Payment status: Paid or awaiting payment.

How to Search for Bookings
You can search for specific bookings using the search bar.
-
Click the Search field.
-
Enter a client name, client tags, address, or Booking ID.
Results will update automatically.
Available Quick Actions
From the Bookings view, you can perform several actions without opening each booking individually:
-
Assign or invite service providers.
-
Update or review payment status.
-
Collect payments for bookings.
These tools make it easy to manage all bookings from one central location.