Once Stripe is connected and your services are updated, you can run a quick test to make sure your entire booking and payment process is working properly.
Step 1: Create a Test Discount Code (99% Off)
To avoid being charged the full amount during testing:
-
Go to Discounts → New Discount.
- Set the Discount Amount to 99%.
- Enter all required details.
-
Save the discount.
You’ll use this code during your test booking.

Step 2: Create a Test Booking
You can create a booking from your Website or directly from the ConvertLabs Dashboard.
We recommend testing from your website to experience the full customer journey.
From Your Website
-
Go to your Booking Page.
-
Fill out the booking form just like a customer would (be sure to use an active email where you can receive the notifications).
-
Enter your 99% discount code.
-
Submit the booking.
From Your Dashboard
-
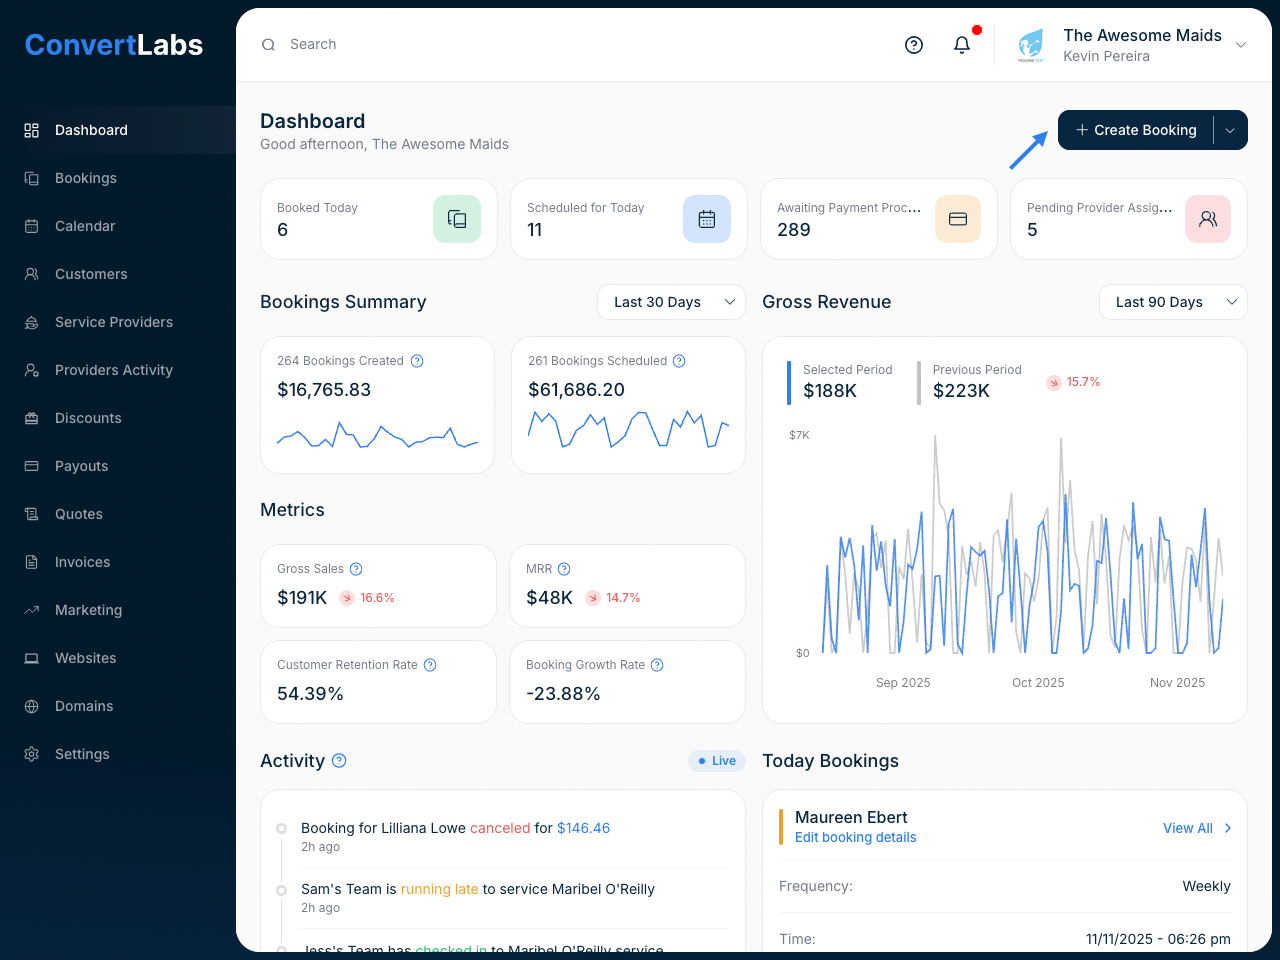
Go to Dashboard → Bookings → Create Booking.
-
Fill in all required details.
-
Select a Payment Method: Enter a card or choose other payment method for testing purposes.
- You can apply the discount code here, or simply edit the total price manually.
-
Complete Booking.
Step 3: Manage the booking
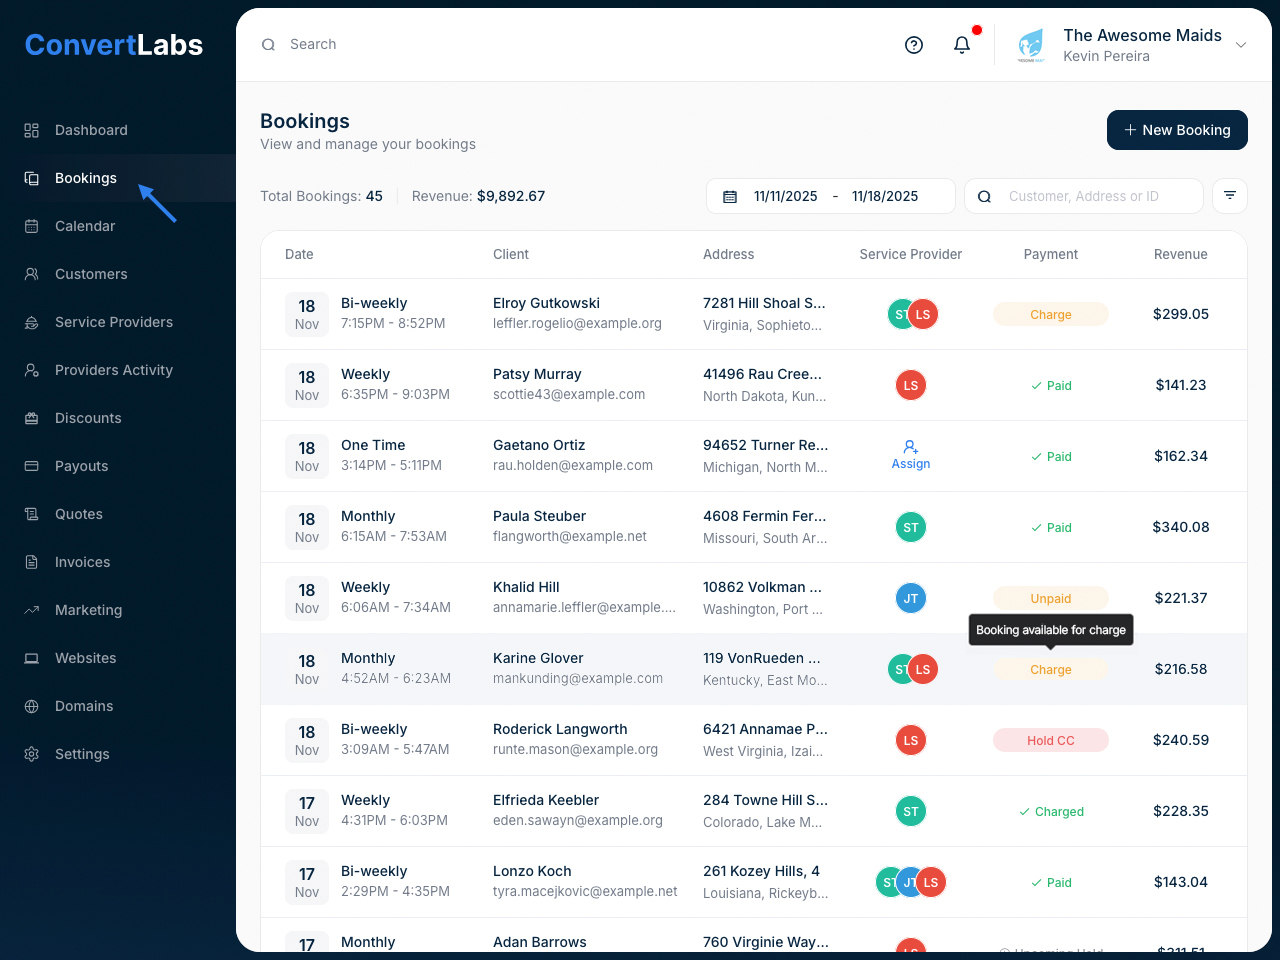
Once created, the booking will appear under your Bookings list.
You will receive automatic notifications at the email address you entered as a “customer”.
-
One Day Before the Service: A payment hold is placed on the customer’s card.
-
On the Day of the Service: The payment status updates to “Charge.”
-
Click "Charge" to collect the payment.
-
The transaction will appear in your Stripe Dashboard once processed.
Step 4: (Optional) Test the Service Provider View
If you’d like to test what your service providers see (notifications, assignments, etc.):
-
Go to Service Providers → New Service Provider.
-
Use a different email address (so you can receive notifications separately).
-
Fill out all required contact information.
-
Click the three dots (⋮) next to the provider name to set their wage.
-
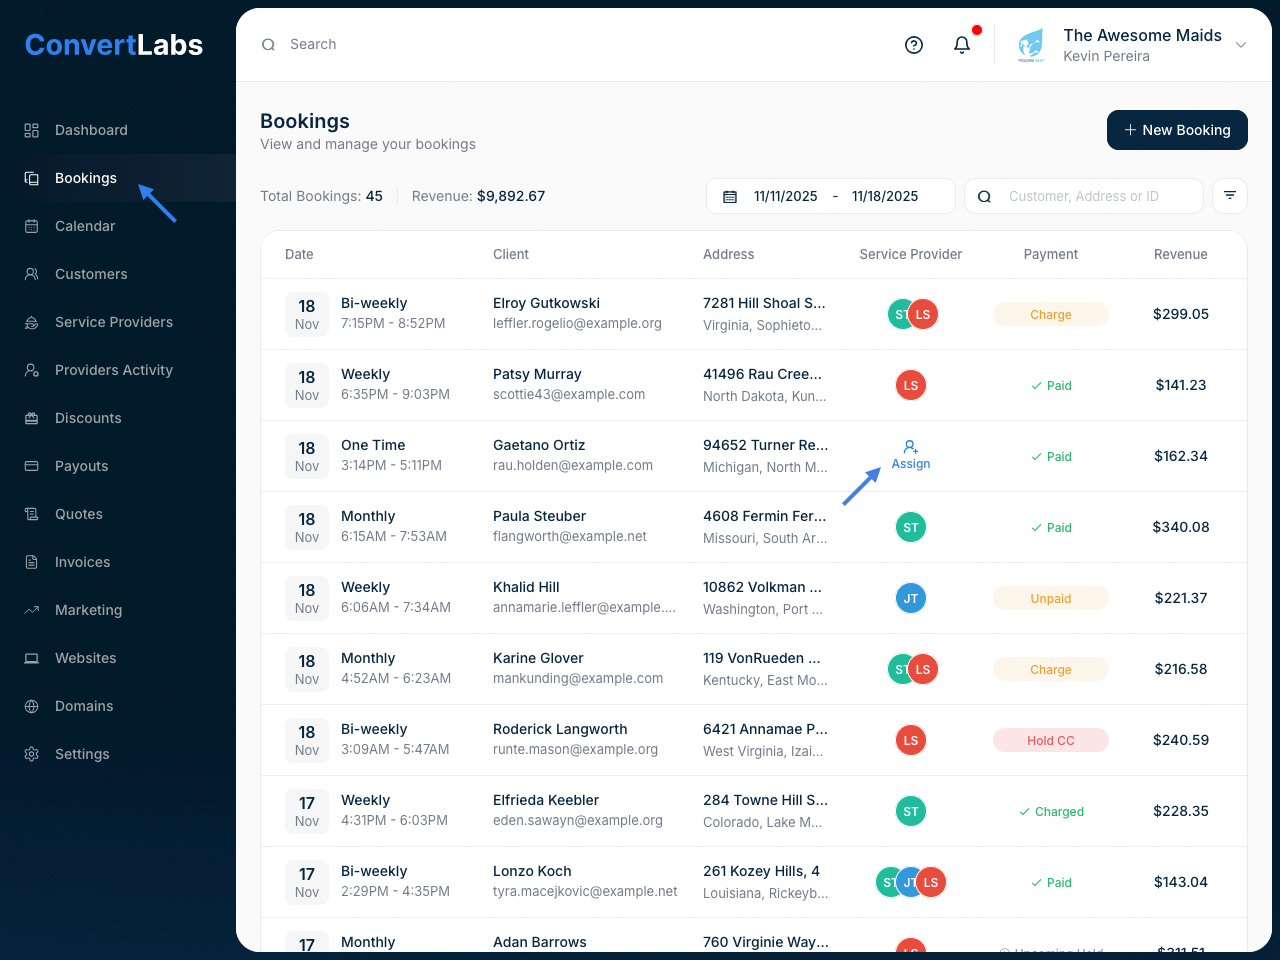
Assign the provider to your test booking: Go to Bookings List → Service Provider column → Assign.
-
Be sure to assign the provider before collecting payment.
By completing this test, you’ll confirm that:
-
Your Stripe connection is working.
-
Bookings are created and displayed properly.